Difference between revisions of "Django in PythonAnywhere"
(→Setup) |
(→Setup) |
||
| Line 5: | Line 5: | ||
[[File:PythonAnywhere1.png]] | [[File:PythonAnywhere1.png]] | ||
| − | Click to '''Create a Beginner Account'''. | + | Click to '''Create a Beginner Account'''. Then complete the registration process. The Beginner Account will allow you to create one free django web app. |
| + | |||
| + | =Creating a Django Web App= | ||
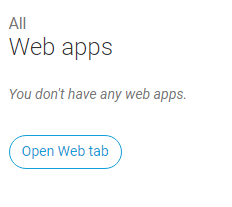
| + | Now on the '''Dashboard''' you should see the 'Web App' section: | ||
| + | |||
| + | [[File:PythonAnywhere2.png]] | ||
| + | |||
| + | Click to open the Web Tab, and you should see this screen: | ||
| + | |||
| + | [[File:PythonAnywhere3.png]] | ||
| + | |||
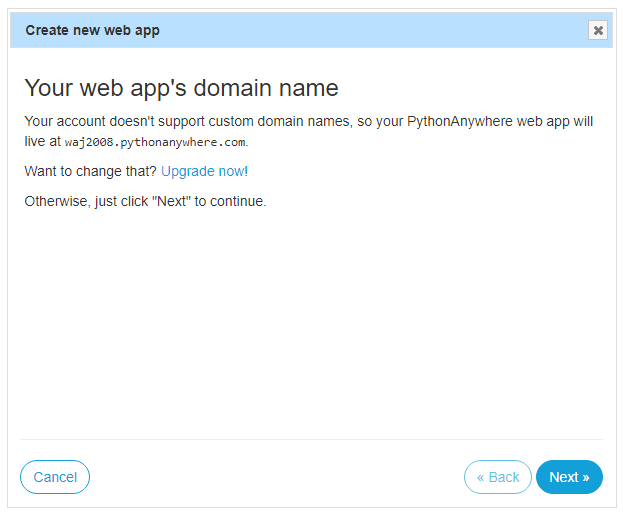
| + | Click '''Add a new web app''' to start the process of creating a django app. The first screen will be: | ||
| + | |||
| + | [[File:PythonAnywhere4.png]] | ||
| + | |||
| + | This is just telling you that the basic account can only support this type of URL. It will be fine to use this and you can just click the '''Next''' button. | ||
Revision as of 13:00, 18 November 2020
Setup
Go to the [PythonAnywhere] website. It is an online python development environment. If you click the signup button you will see:
Click to Create a Beginner Account. Then complete the registration process. The Beginner Account will allow you to create one free django web app.
Creating a Django Web App
Now on the Dashboard you should see the 'Web App' section:
Click to open the Web Tab, and you should see this screen:
Click Add a new web app to start the process of creating a django app. The first screen will be:
This is just telling you that the basic account can only support this type of URL. It will be fine to use this and you can just click the Next button.


