Creating a virtual environment in Visual Studio
If you have created a new Python based project, you now need to create a virtual environment. You lack the permissions on college machines to install any python modules, on your own machines virtual environments are a good idea for controlling which python modules are installed for which python projects.
New Virtual Environment
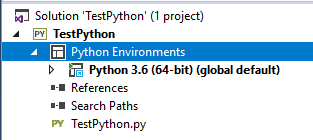
In the solution explorer for your new project:
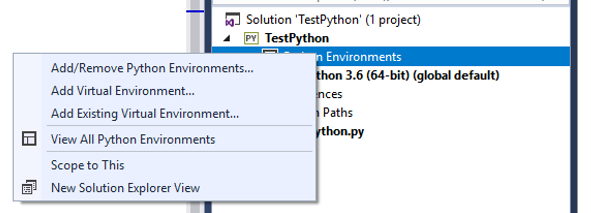
You will be able to right click on Python Environments and select 'Add Virtual Environment':
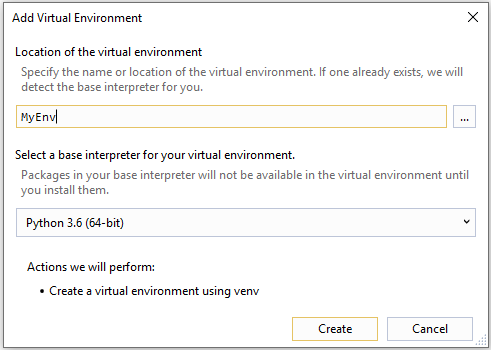
You will need to give the environment a name, this is called 'MyEnv':
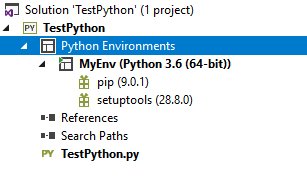
You should also select the version of python, select the highest available. Once completed, your environment should be created here:
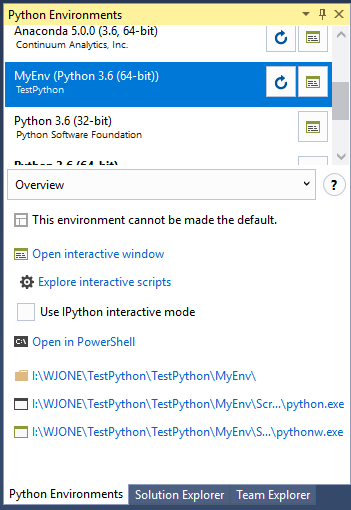
Now you can change from solution explorer to python environments, and select your virtual environment:
Using Virtual Environment
In college, you can't use the Visual Studio option (change Overview to Packages) to install a package into your virtual environment. This seems to be a permission issue, and you also can't run a command prompt to actually enter the code yourself. The shortcut links provided within the environment window do work and run.
Create setup program
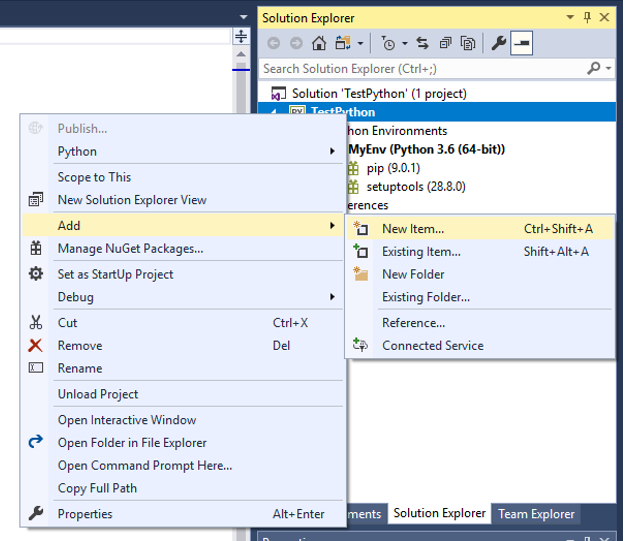
In solution explorer, right click the name of your project and click Add, and choose new item:
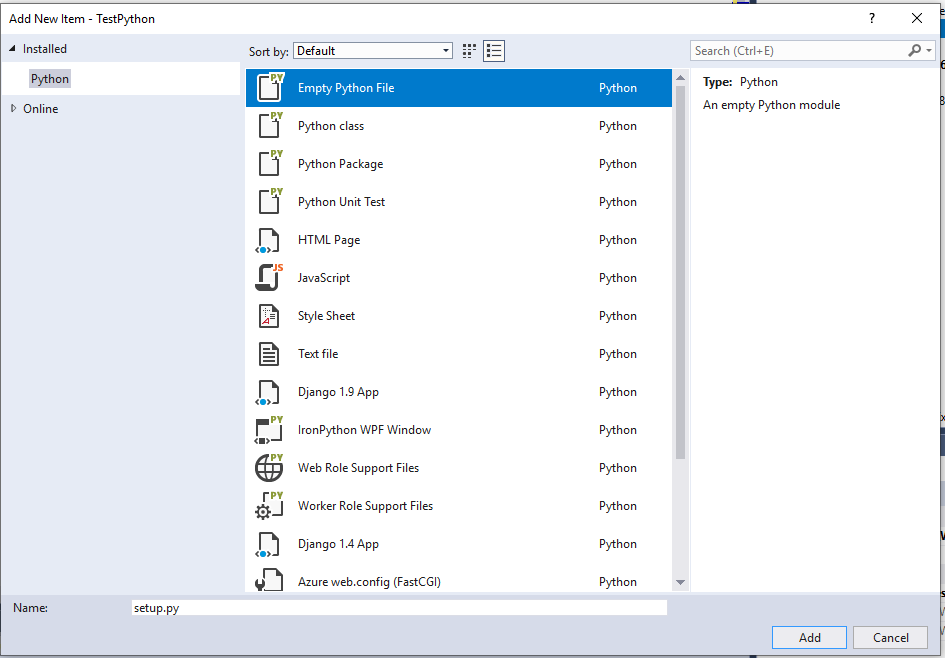
Now choose, and enter the name 'setup.py':
