Creating a Django Web App
Contents
Setup - Manually Within Visual Studio
follow the following to create a new python project and to create a virtual environment:
Create a python project in Visual Studio
Creating a virtual environment in Visual Studio
The last link above also shows how to create a 'setup.py' to install Django using pip, use this method to install Django.
Setup - Visual Studio with new template
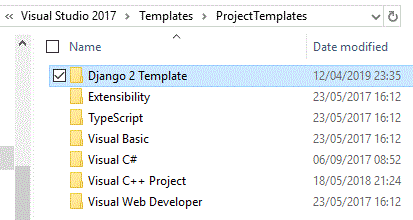
The latest version of Visual Studio has an updated template for Django. Download this file and extract it into your templates folder (documents\Visual Studio 201X\Templates\Project Templates\):
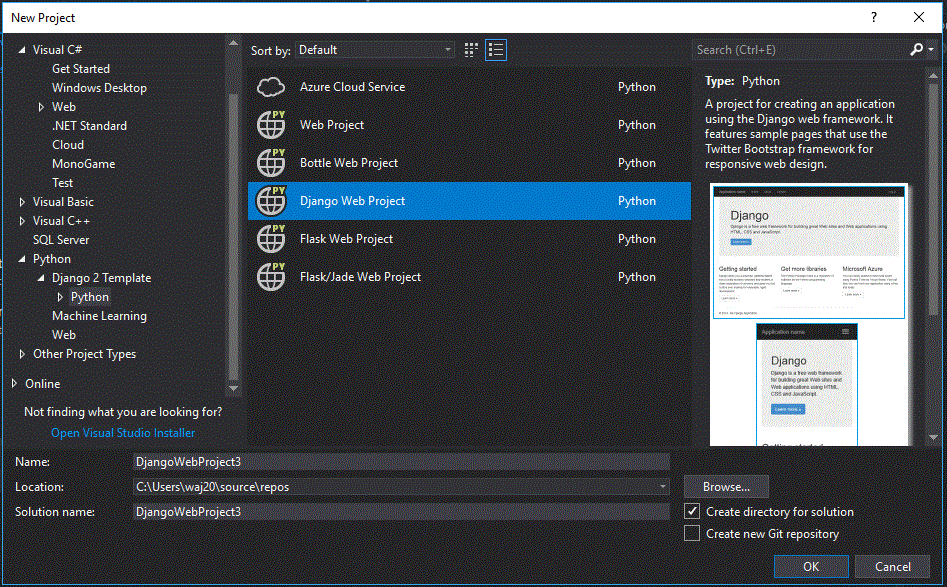
Now start Visual Studio, and when you choose 'new project' you should be able to see the new template (the new template is in a folder called 'Django 2 Template', this name will appear under Python. Choose Django Web Project:
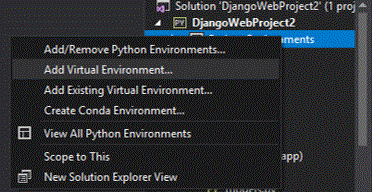
Now we need to create a virtual environment, right click the environment in solution explorer and select add virtual environment:
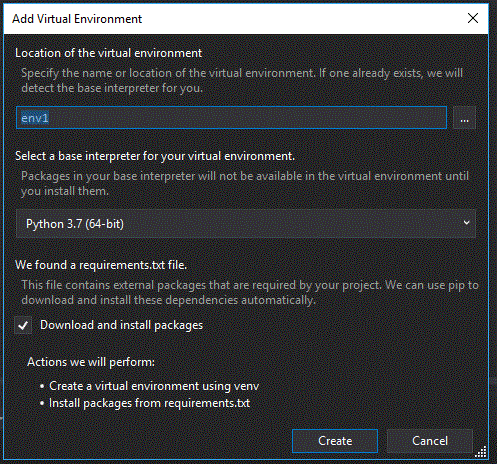
This will create the following panel, you can leave everything as it is. In college you will not be able to download and install:
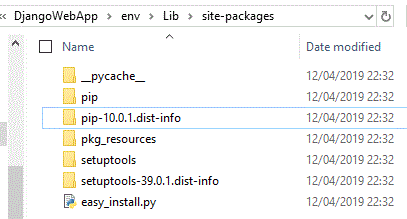
Now, find the site packages folder within your project folder:
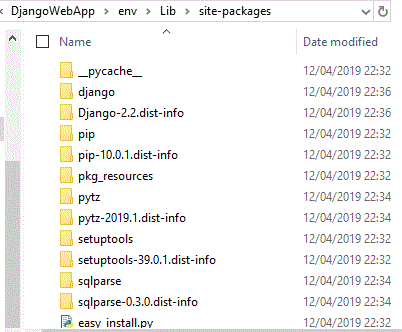
Extract the folders within this zip file into the site-packages folder:
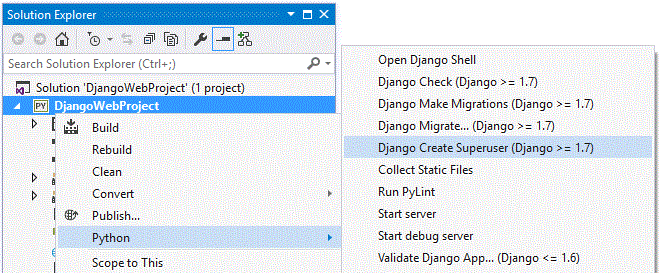
Next, you will need to run migrate and then create a super user account. This must be done before running the app for the first time:
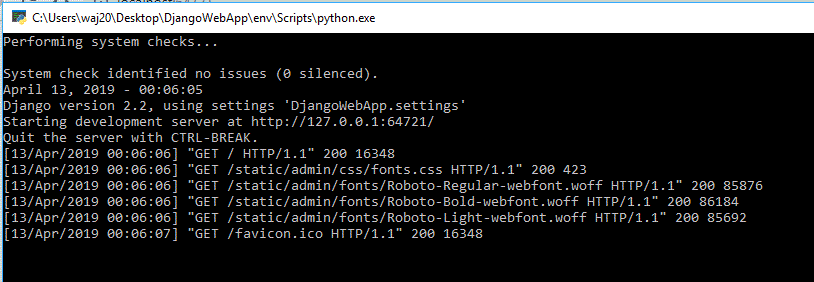
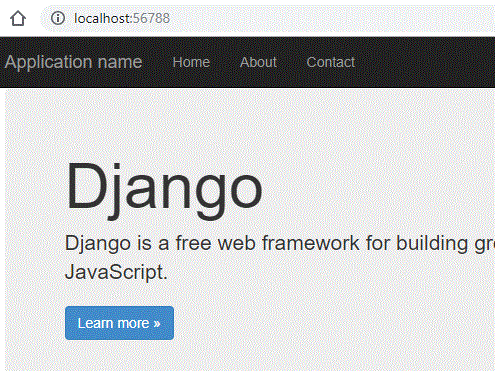
Now click start in Visual Studio, you should see something like this:
It should automatically open a browser, it should already point to your web app:
Setup - Manually on Own Machine
This will create a web app based on Django 2.2, this is the latest version of Django and isn't entirely compatible with the Django 1.11 used by Visual Studio.
Setup the Path
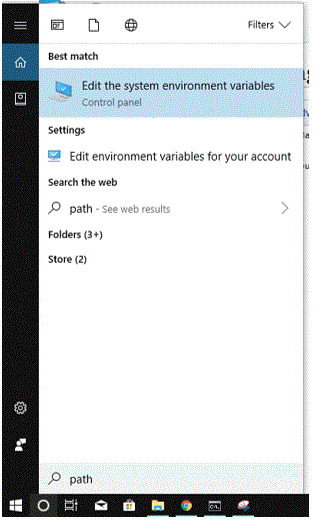
You will need to ensure your system path is set to access the python folder and the scripts folder. Search for 'path' in the search bar, and click 'edit the system variables':
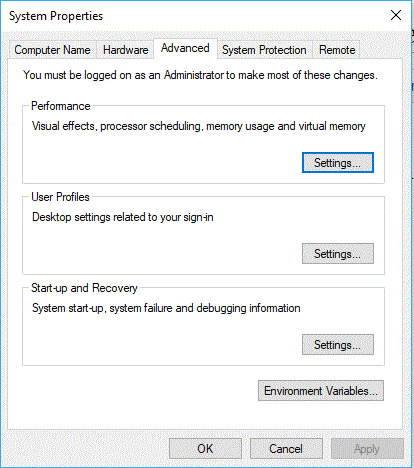
Now click 'Environment Variables':
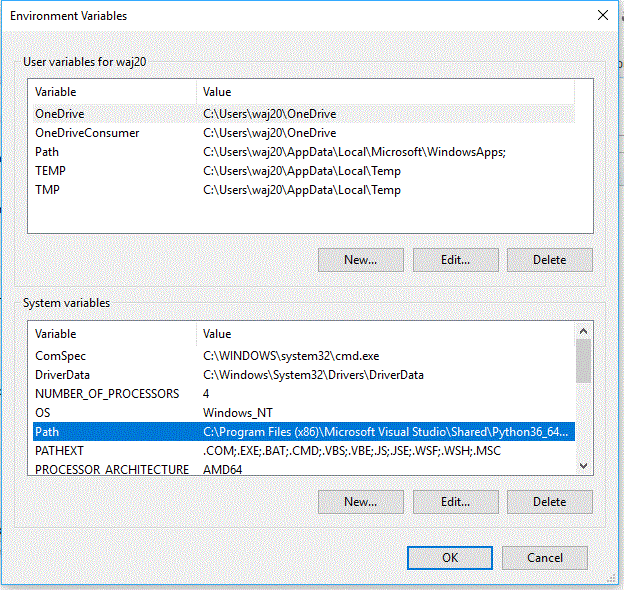
Now select Path and click edit:
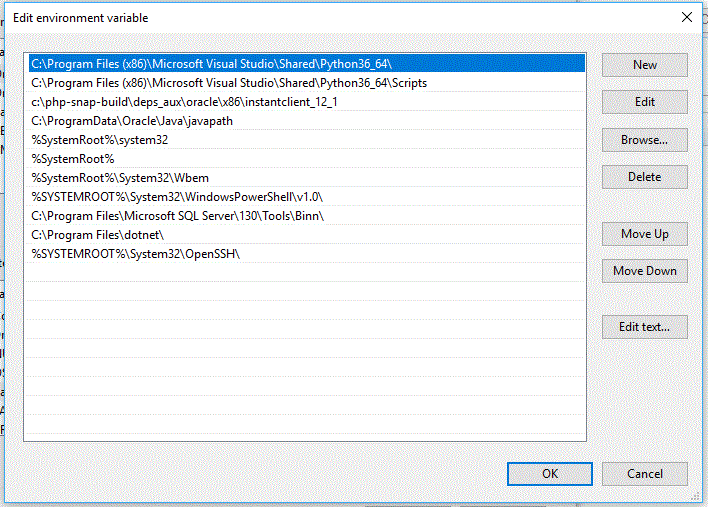
Now look on your system to find where Python is installed, make a note of the folder and also check to see if it also has a script folder. Now add these values to the Path:
Install Django
Now to install Django you can enter the following command:
python -m pip install django
If you have set the path above it should work, you might need to restart your computer after you change the path. This command should install Django and all of its dependencies.
Create an app
With Django installed above, it should add django-admin into your scripts folder. We will use this to create a new Django app. But first we need to create a folder for your app, and then run the command prompt and go to the folder location:
Now we can run this command to create a blank Django app:
django-admin startproject myapp
This will create a folder called myapp, and it will contain everything required for a Django app. If you go into the myapp directory you will see manage.py:
Now we need to run a few commands, firstly:
manage.py migrate
Then we need to create a superuser, so now type this command:
manage.py createsuperuser
You will need to follow the instructions to create a username and password.
Now to run the app you will need to run the command:
manage.py runserver
This will start the server and tell you the address to access the app:
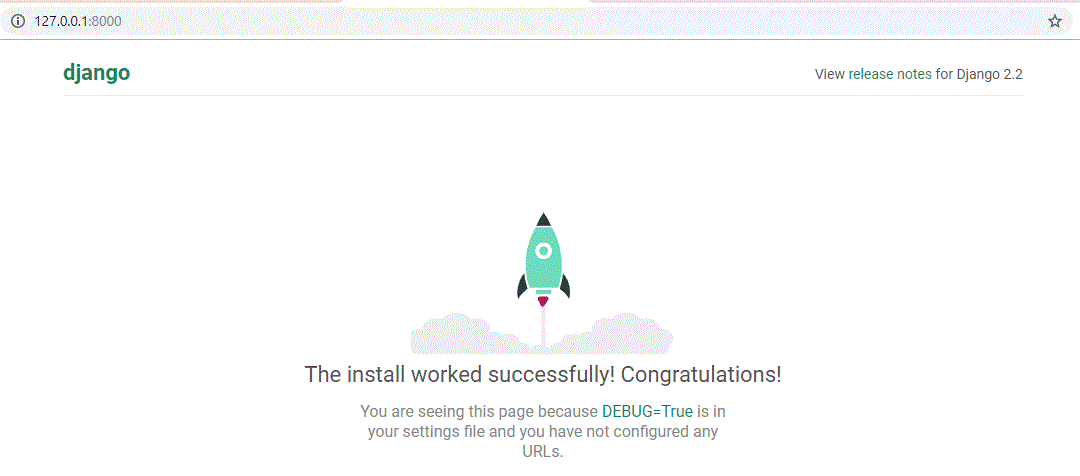
Now open a browser and enter the ip address above, ie http://127.0.0.1:8000 :
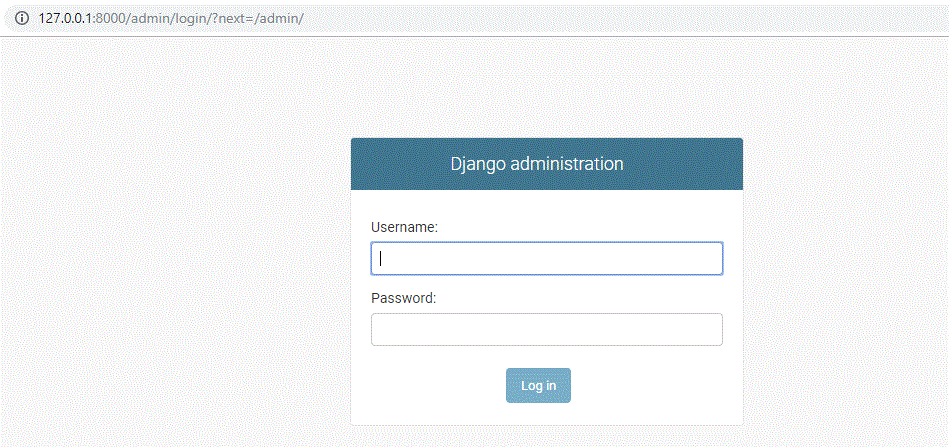
Change the url to 'http://127.0.0.1:8000/admin' to access the admin features:
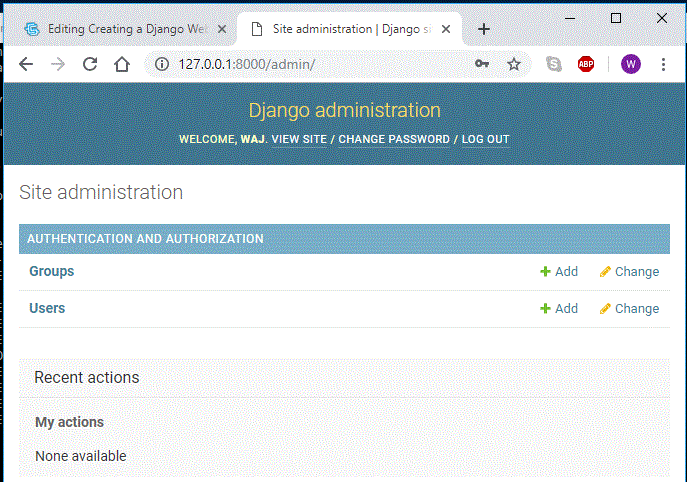
You should be able to login with your superuser details:
